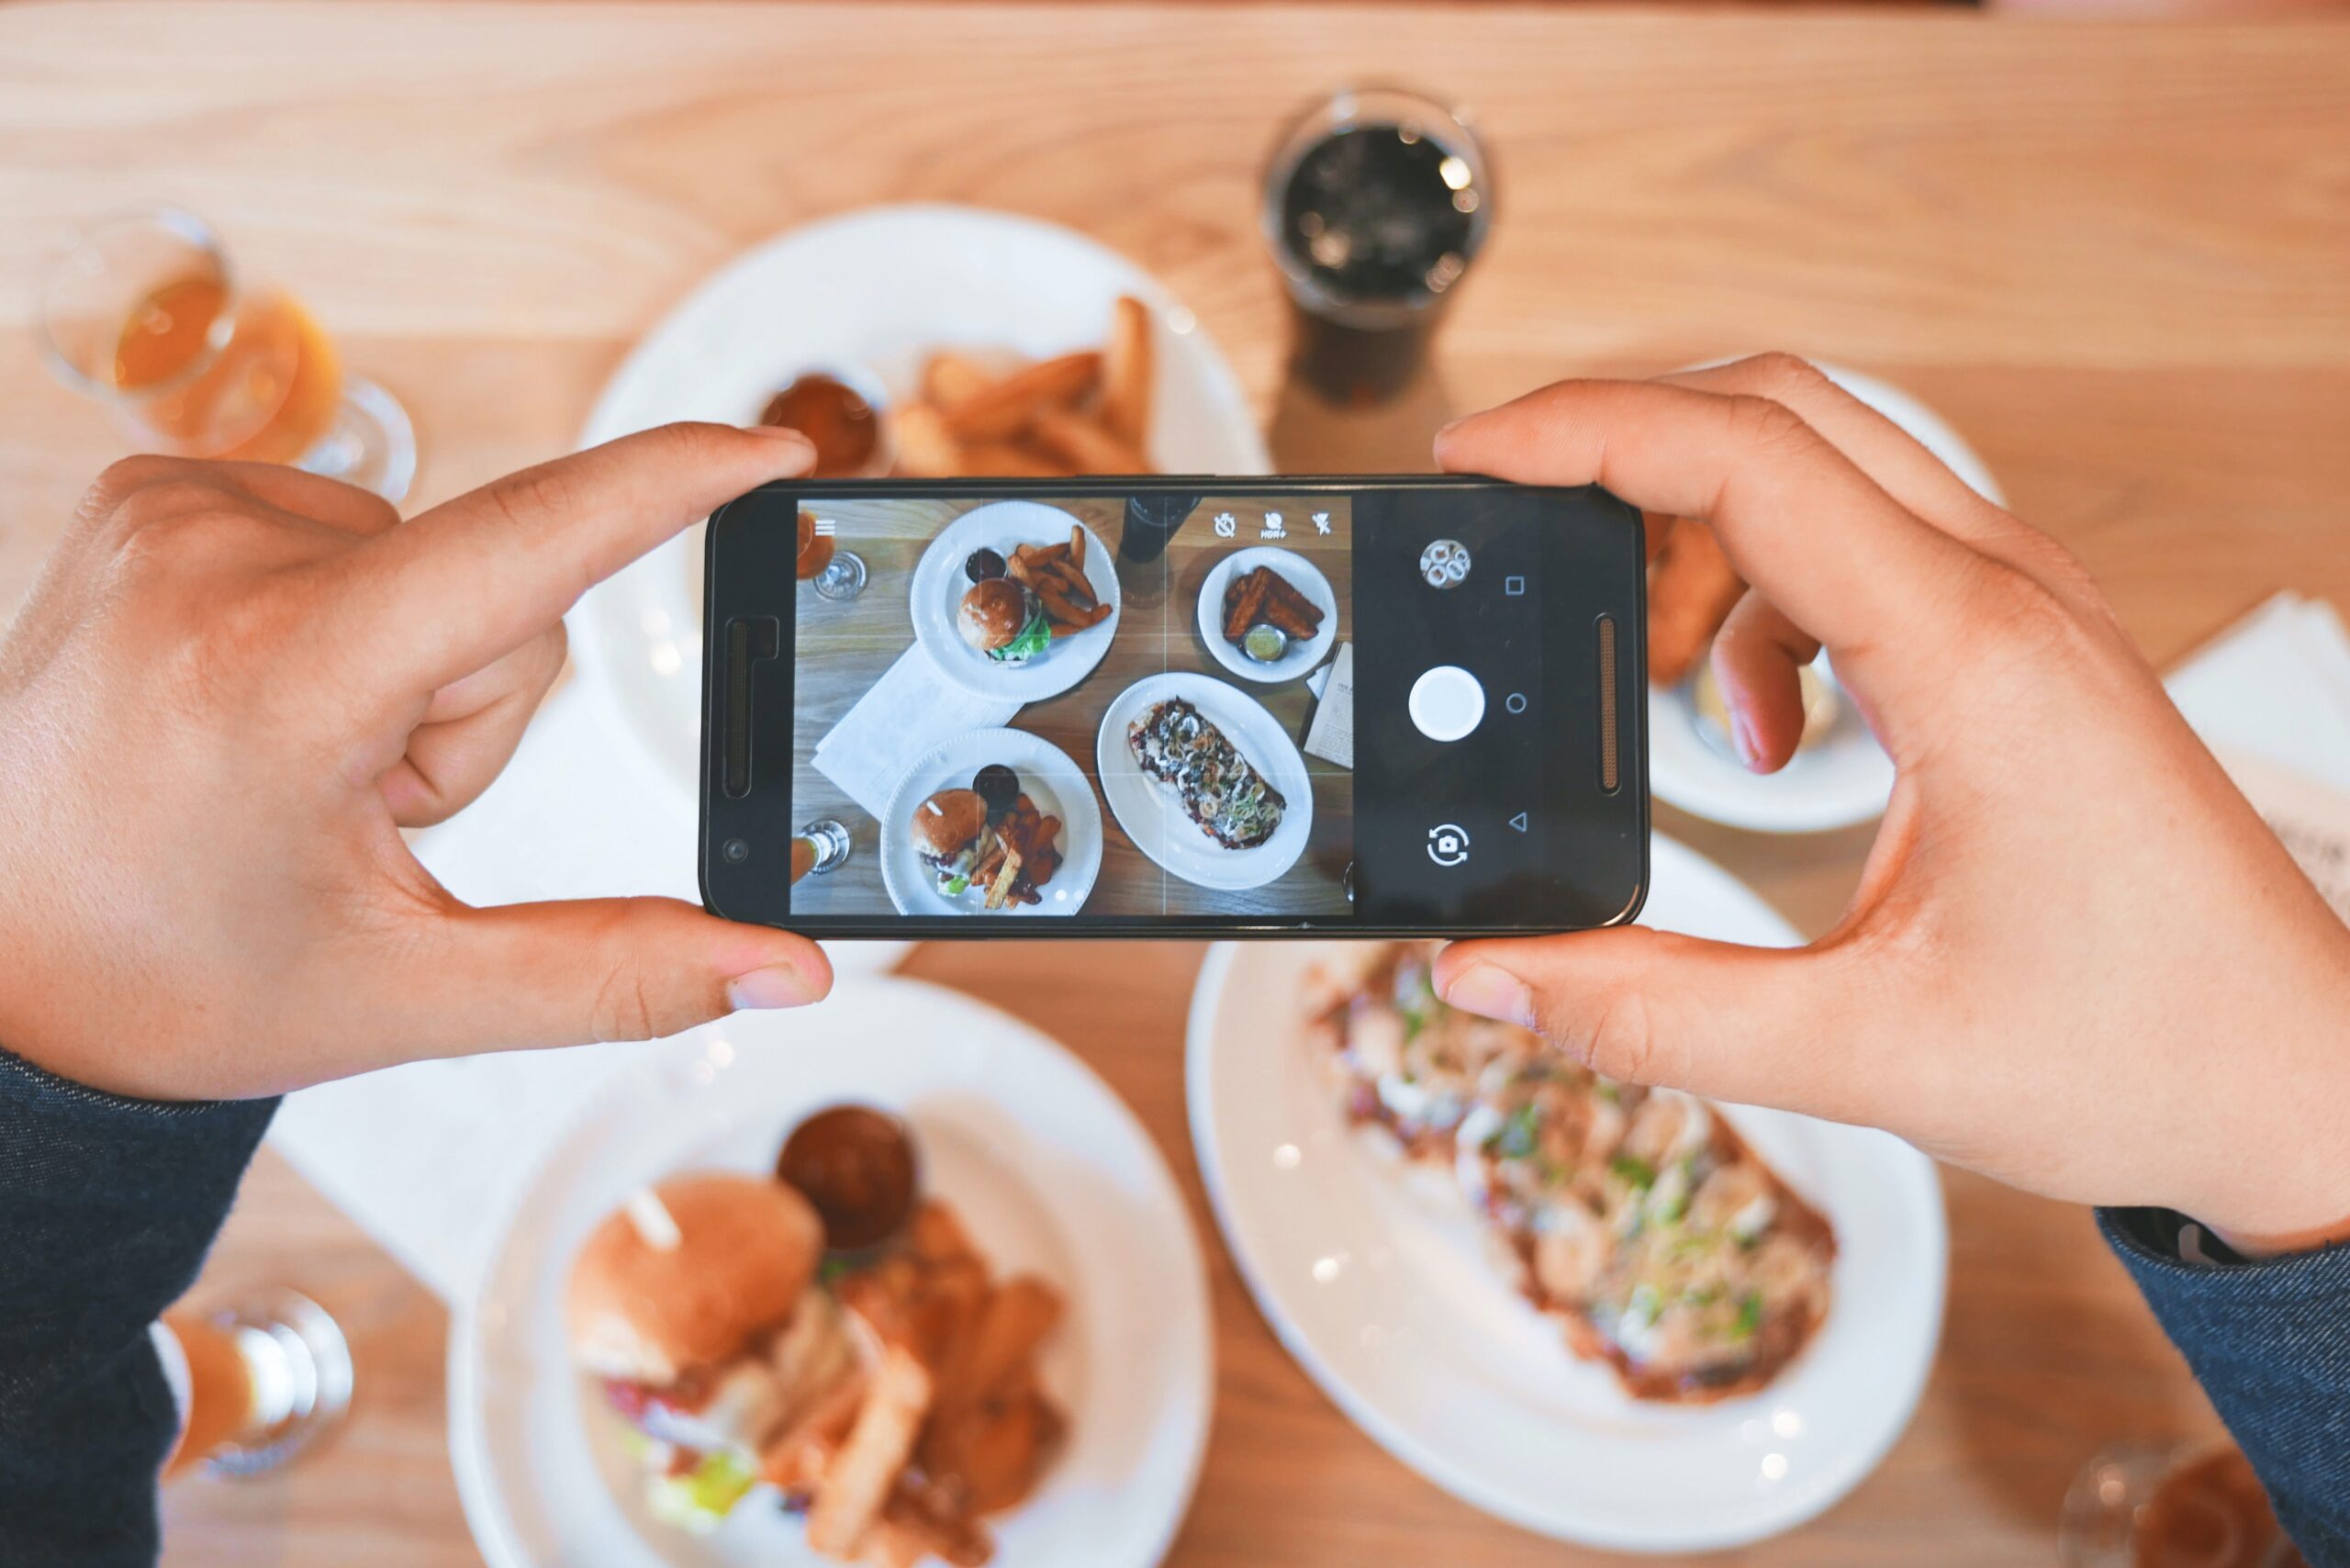
As a food photographer, you have the unique opportunity to capture the deliciousness of your subject in all its form. But with that opportunity comes great responsibility! After all, you are responsible for making the food look as delicious as possible.
No pressure, right? Here’s a list of food photography techniques that I’ve discovered throughout the project and some of my tried-and-true suggestions.
Contents
Toggle1. Lighting
Lighting is everything. And sometimes, less is more. I prefer to use one powerful leading light and a fill card nearby. There are so many possibilities for lighting food pictures when it comes to lighting food pictures, and there are so many possibilities (and opinions).
Using this method, you’ll be more familiar with the light, and it’s more forgiving. Of course, this also depends on your intent. If you want to set a bright picnic table scene, super soft, diffused light is probably not the most excellent solution.
Try recreating that in a studio environment once you’ve gotten the hang of it. Eventually, you’ll learn how to alter and control your lighting to get the desired effect.
2. Create a story
Use props that can help you tell a tale with your photograph. Consider the silverware or napkins you employ—are they rustic, essential, or colorful? Is there glass in your photo? What sort of liquid is in it, and how full is it? These little elements will create a narrative that we can identify with.
3. When you’re done cooking, don’t (constantly) thoroughly cook your food
Blanching broccoli, for example, is a good option. It’s also important to note that blanching destroys some nutrients in vegetables like asparagus and spinach.
Blanching veggies in boiling water for 3 minutes helps enhance their color and make them seem more appetizing. If you can, use the freshest ingredients. If new items are not available, defrosted frozen veggies may also work—just quickly warm them in cold water.
4. Add a bowl
We may sometimes run out of ingredients when cooking a meal before the bowl is full. Let’s face it: A whole bowl is usually too much food.
A half-emptied (or half-filled 😉 ) bowl doesn’t seem appealing when you’re photographing. Position a smaller bowl inside a more significant one upside down to correct this. This will allow you to use up the rest of that space and make it appear fuller.
5. For a glossy finish, spray with oil or water
Spraying a fine mist of water over salad and veggies helps make them seem fresher. Have some coffee beans that are a bit dull? Add a little amount of oil to enhance the appearance of your coffee beans instantly. We’re not looking for much, just something extra!
6. Make a mess of things
Are you a food photographer? To add some interest, scatter some cookie crumbs on the plate. Put a slice of cake on your fork instead. It’s helpful to include something “perfectly messy” into the background (since how often do you eat a cookie and not have half of the crumbs fall off?!).
Cut up some veggies. Drizzle the ketchup. However, be careful not to get too messy, or it will become distracting!
7. Make sure it’s not expired
This may be a simple issue, but make sure your veggies are in their freshest condition. That is, don’t wait a few days before serving them. I used to believe, “ah, this appears to be good!”
I was so confident in producing outstanding results that I said, “I can use it!” However, after capturing it, I discovered that it didn’t seem as wonderful as imagined. I now know better; nevertheless, get them as fresh as possible before you start shooting.
8. Get creative with your decor and use items as decorations
I spoke about this previously, but using props is the ideal technique to create a narrative in your pictures. Ingredients, silverware, and even hands can all be used as props. Adding hands to your photographs adds a personal touch while also establishing the context.
Consider the subject you want to convey and how you’ll express it visually. Keep in mind the background you choose. Experiment with different textures, or try a neutral-colored backdrop that goes well with the meal you’re photographing.
You may also use wood slats to build a table or create a kitchen scenario by arranging tiles. Be cautious not to overuse props. Otherwise, they might take away from your main subject.
9. Try a new combination
Make a pattern with your food or arrange a dish unusually. You don’t have to do something the way it has always been done—add your flair! Experiment with various aperture settings, or try a new perspective/viewpoint.
10. Take note of the colors you use
Consider which colors compliment each other well. This will assist in the creation of balance and harmony within your image. Consider colors that complement one another—or colors on opposite sides of the color wheel.
For example, if you’re photographing a bowl of mac and cheese, place a purple napkin beneath the bowl or utilize a purple backdrop to complement it. These color schemes will aid in the distinction of your meals by making them vibrantly stand out.
Conclusion
While there are many food photography recommendations, these are the ones I generally use while styling photographs. Remember to tell a story with your photo. Make use of props and colors to match your environment.
Continue experimenting with various backgrounds, lighting, and viewpoints until you discover a style that is distinct to you. Most importantly, have fun!


